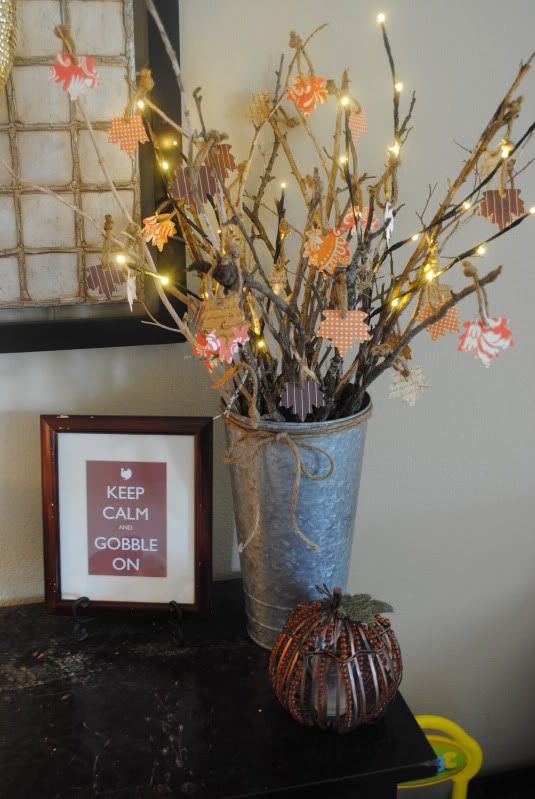
THANKFUL TREE!!!
And I absolutely love it and love how it looks! Here is what I did!
I got the idea from Honey We're Home. She did a thankful tree and cut out circles to use.
I thought about doing that but with 2 1/2" scallop circles because I have a paper punch I could have used which would have been SO easy. BUT I seldom take the easy route and when I get an idea in my head nothing else will do. So one evening when Mr. Goat was out of town I sat in bed and watched Real Housewives of Beverly Hills and cut out leaves. Here are some pics and more detailed instructions.
I bought my paper at Michael's.
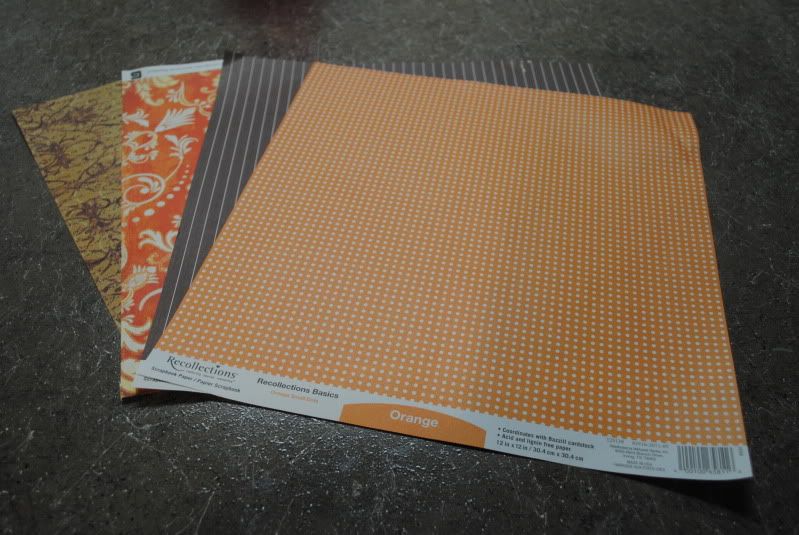
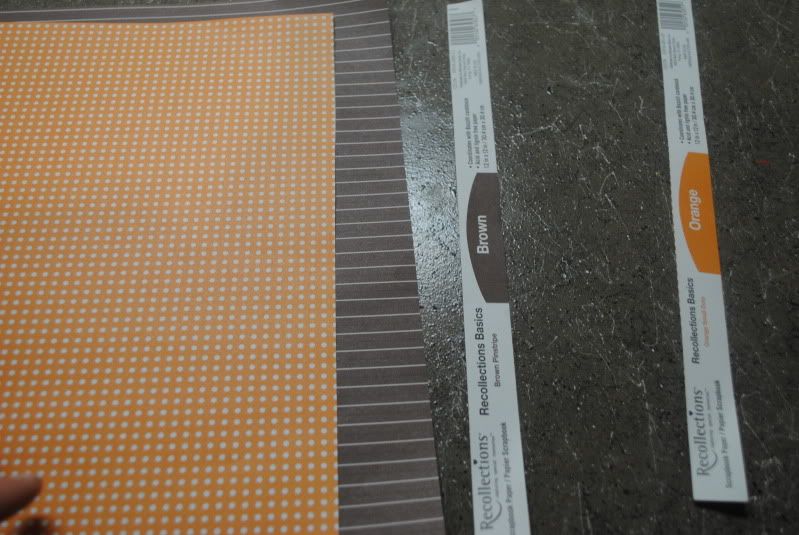
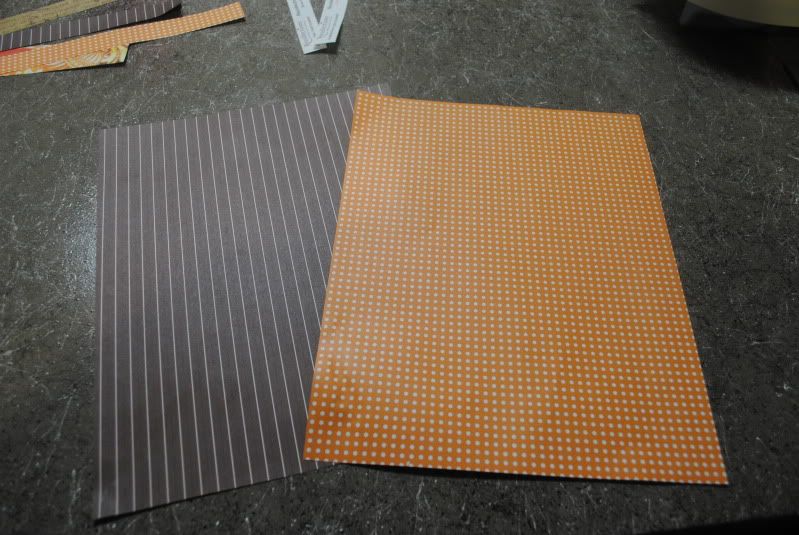
The only paper they had that I liked were 12 x 12 sheets so I trimmed the annoying edges off and then cut them down to 8 1/2" x 11" (a normal sheet of paper) because I wanted to be able to stick them in the printer.
Then I found a leaf shape I liked and made a sheet of them in photoshop. Here is the JPG version you can use!

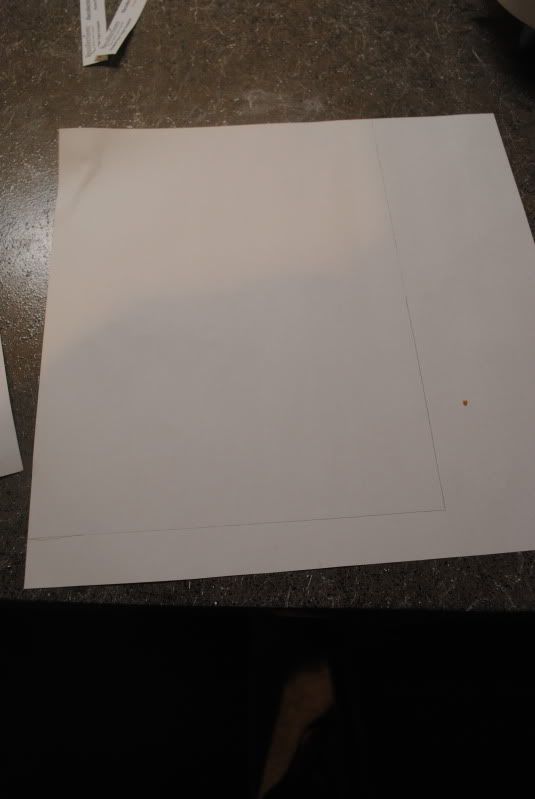
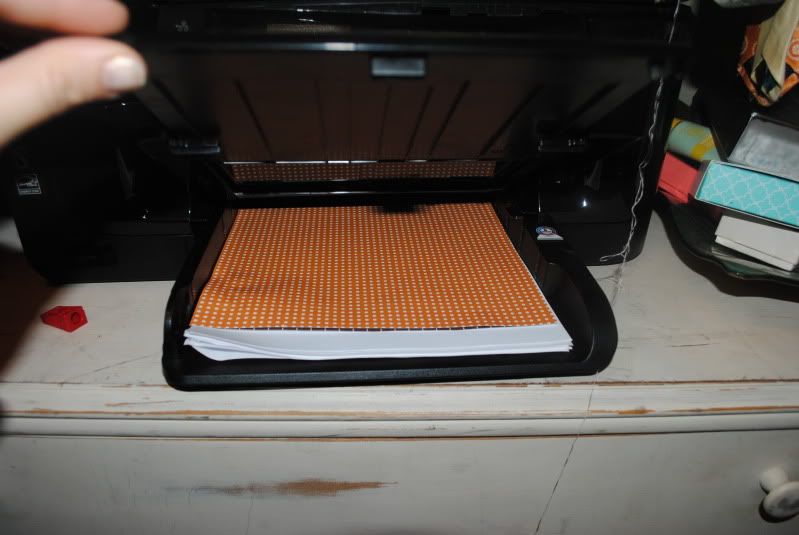
Then I stuck my paper in the printer so that the leaves would print on the white side of the scrapbook paper. You should have a little notifier on your printer that looks like the pic to show which side to face down if you want to print on a specific side.

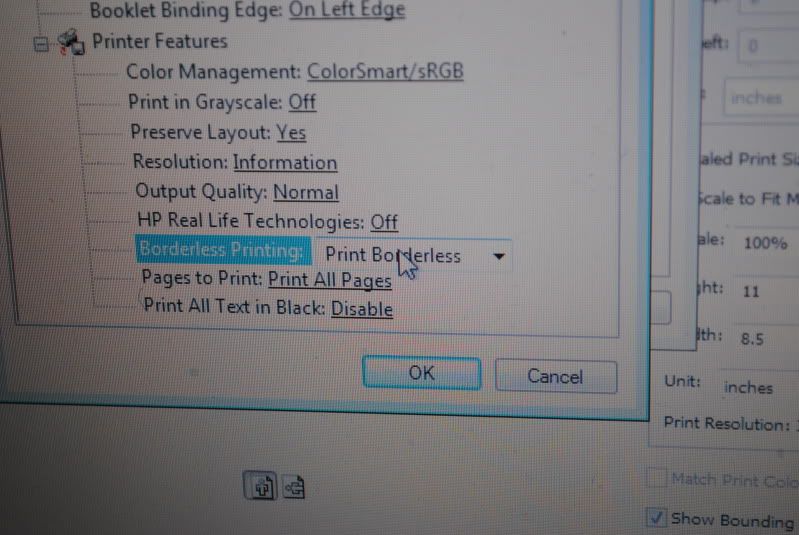
I used the borderless setting to make sure that none of the leaves got cut off.
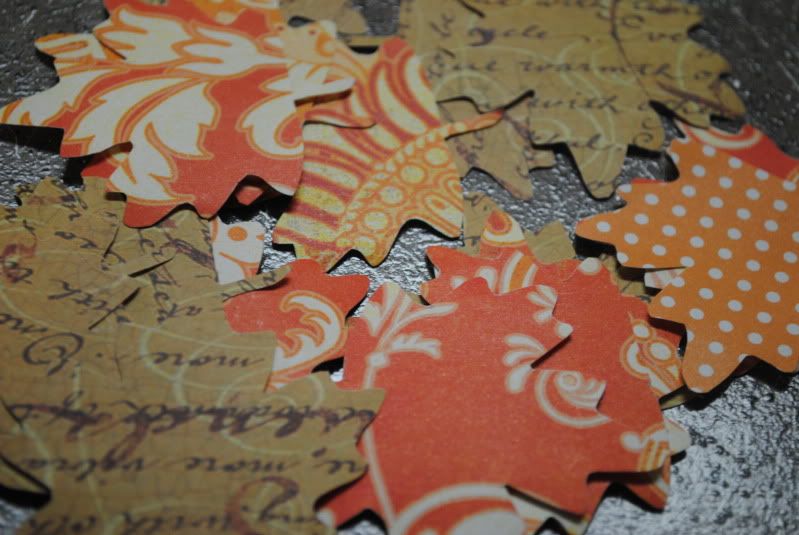
Here's a pic of both sides of the sheets.
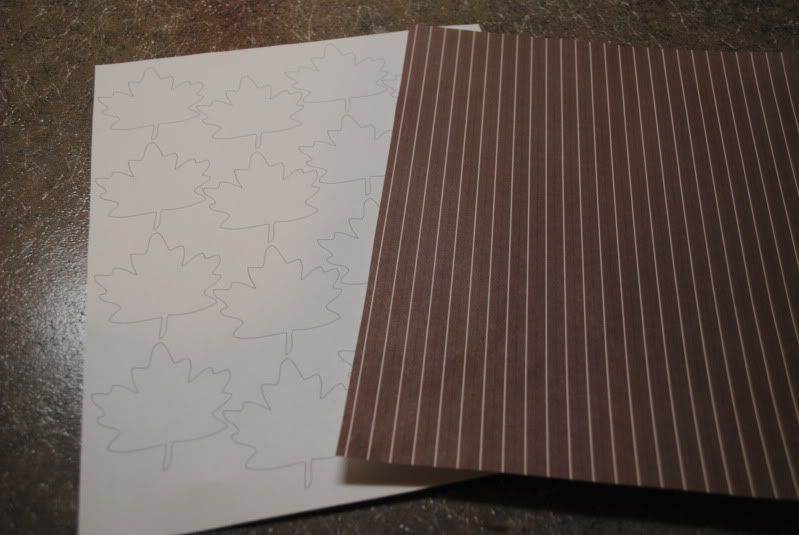
So then I trimmed the leaves out so they would be a little more manageable.
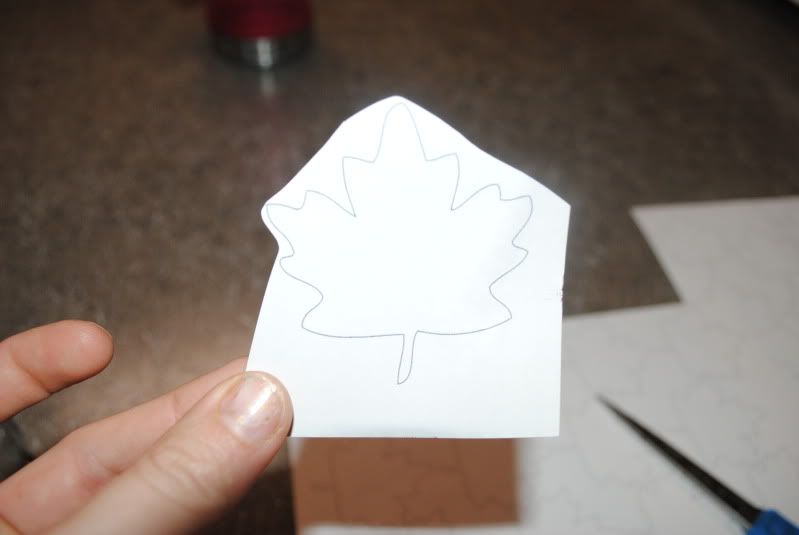
And then I cut them out!!
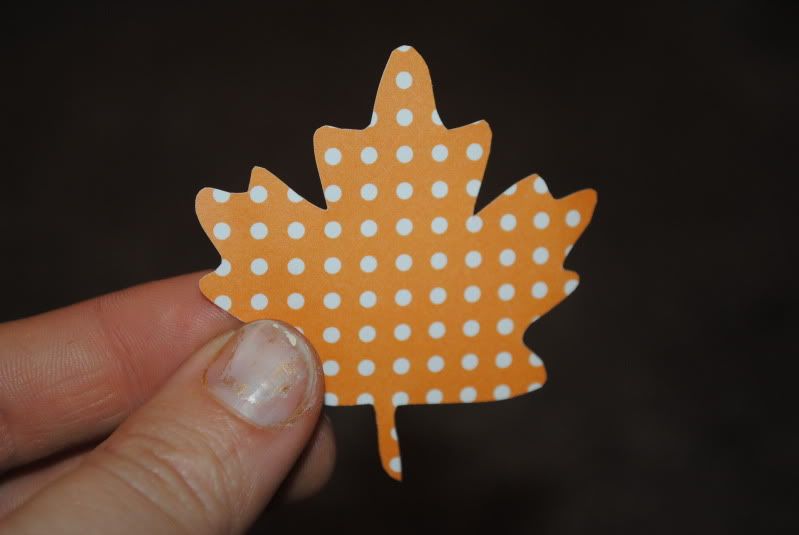
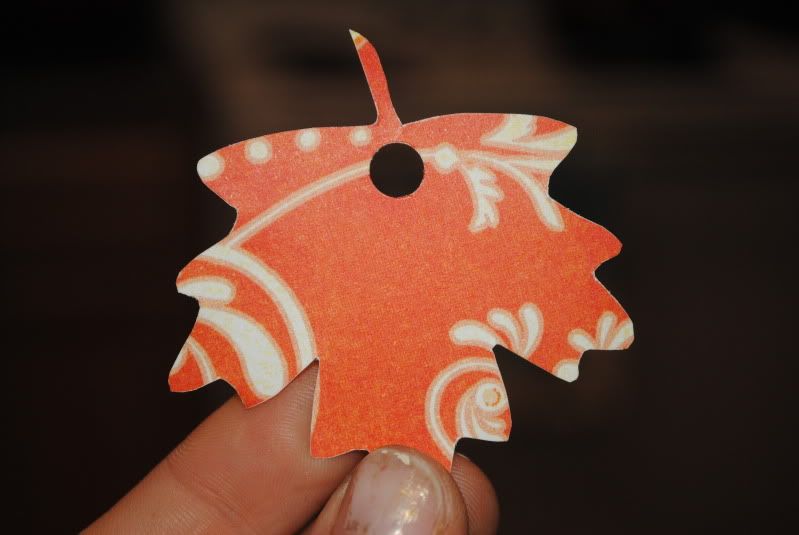
Aren't they so cute?!
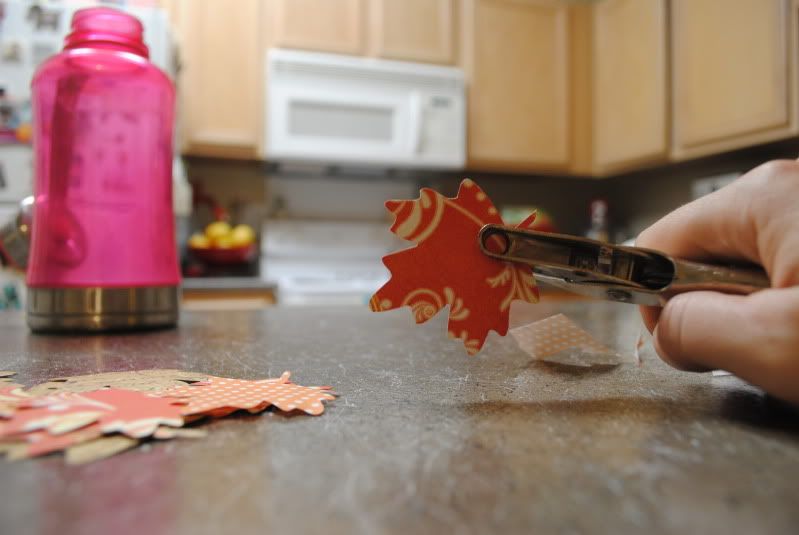
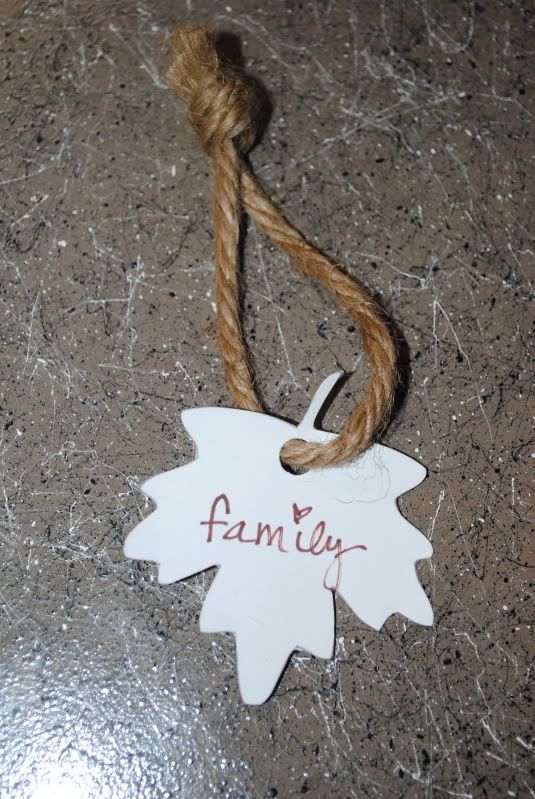
Then I punched a hole in the top with a regular hole puncher.
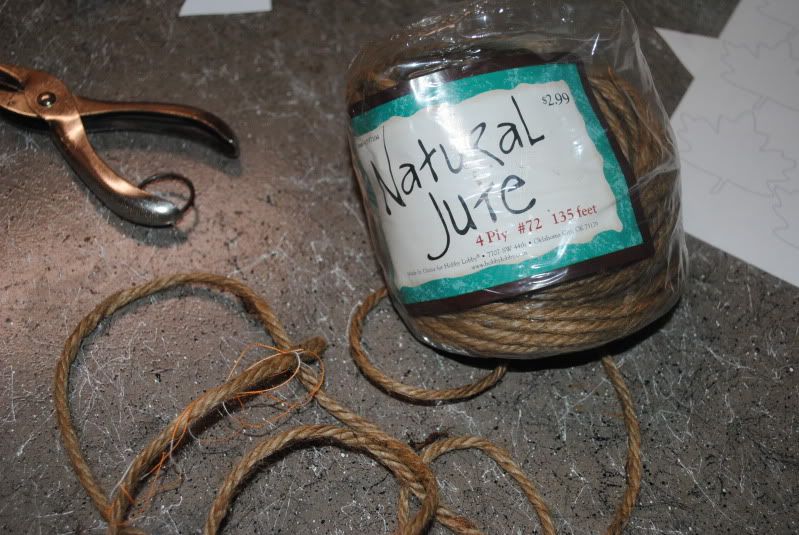
Then I used some jute rope that I bought at Hobby Lobby for $2.99 and cut about 6" to 7" pieces to tie through.
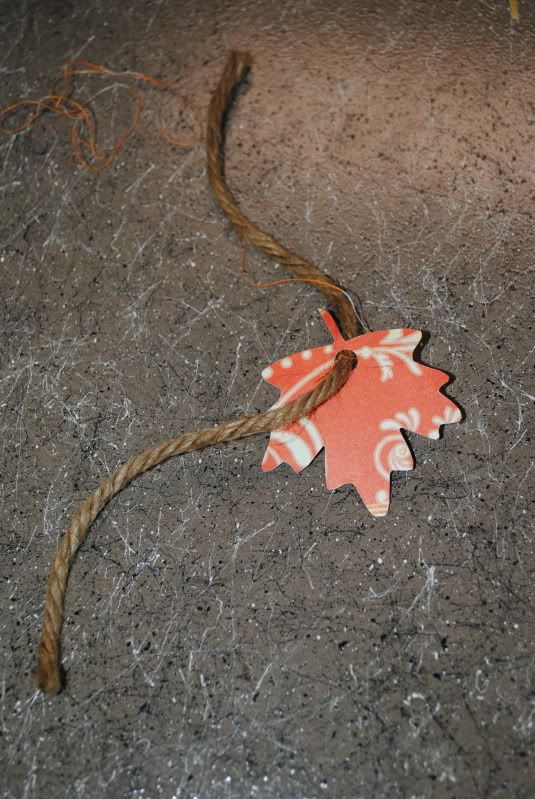
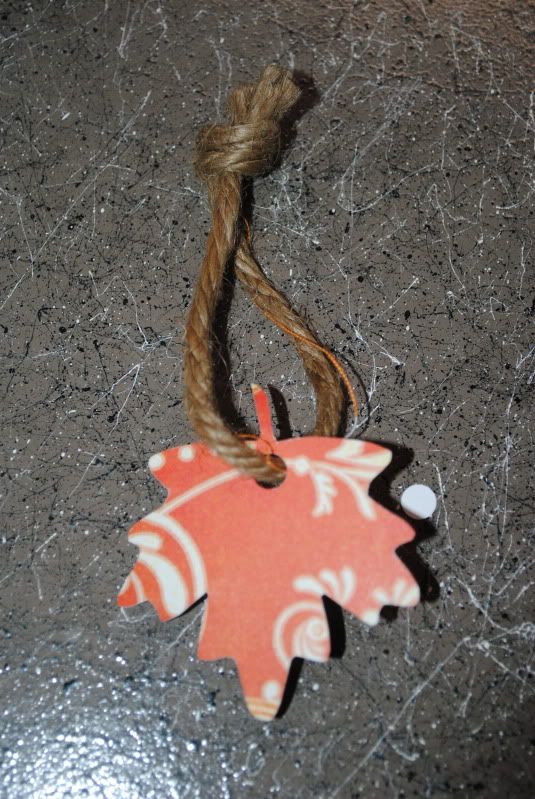
Then once I had a big bag of those hubby and I sat down and thought of things we were thankful for. It was a bit of a challenge but it was so fun and special! We have decided we are going to do it every year and when baby Goat gets older he will get to say things he is thankful for too!
Once I got done with the precious (and super drama) leaves I went and tromped around outside and found a bunch of tree branches. I just loved Aunt Ruthie's Sugar Pie Farmhouse's arrangement, shown below and knew I wanted to create something similar but make it into a thankful tree.
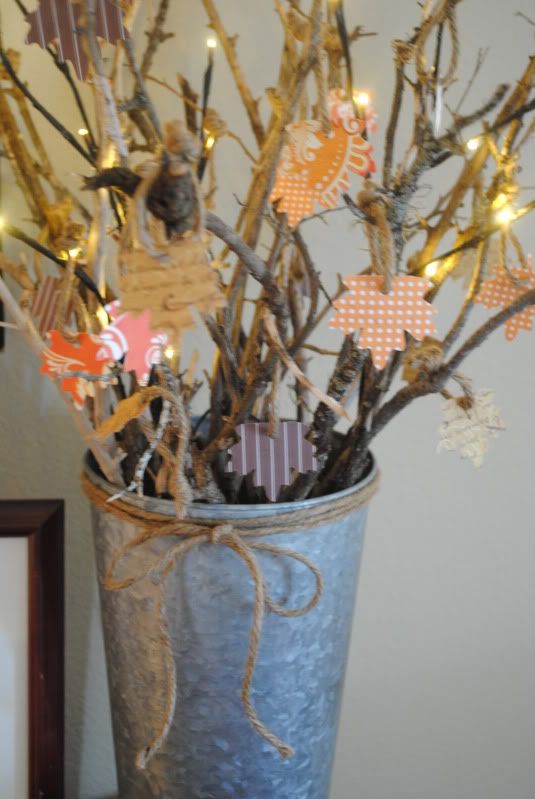
I found my lit branches at TJ Maxx and they actually only had a set with this really ugly cherry blossom flowers on them but they were on clearance for $7, a deal I just couldn't pass up. So I pulled the flowers off and they looked just like what I had originally seen at Michael's. These are pretty common now, I see them at Ross, Marshall's, TJ Maxx, Target, etc. so you shouldn't have any trouble finding them. I also made sure I got some that plugged into the wall, not ones that took batteries because I wanted to be able to leave them on and using batteries would have gotten expensive! I bought my galvanized vase at JoAnn. It was $12.99 and I used a 50% off coupon so I got it for $6.50! I LOVE it! I plan to use it for lots of holidays!
Then I hung them all on the tree!
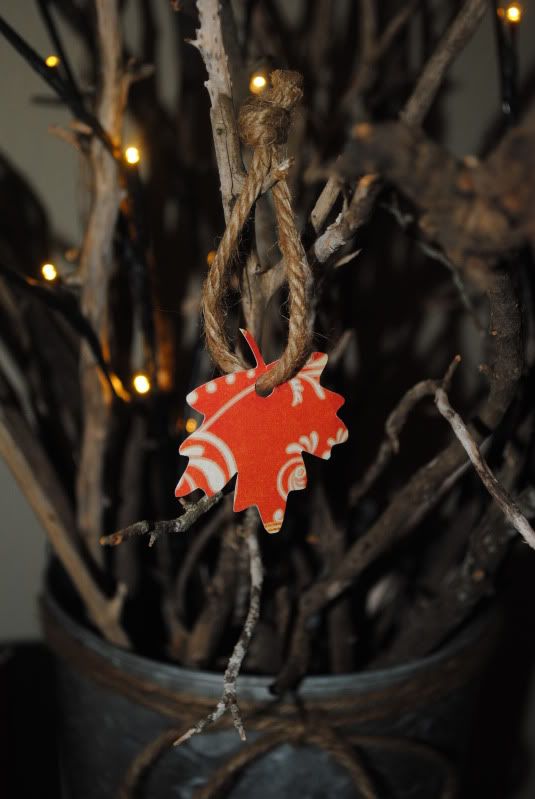
I tied a piece of jute rope around the vase and made a bow and voila!!

Don't you love it?!
Hope everyone is having a fab weekend! We are off to Pfluggerville to do mini-Thanksgiving with my in laws because they are going to be out of town for actual Thanksgiving. Happy Sunday!!



No comments:
Post a Comment