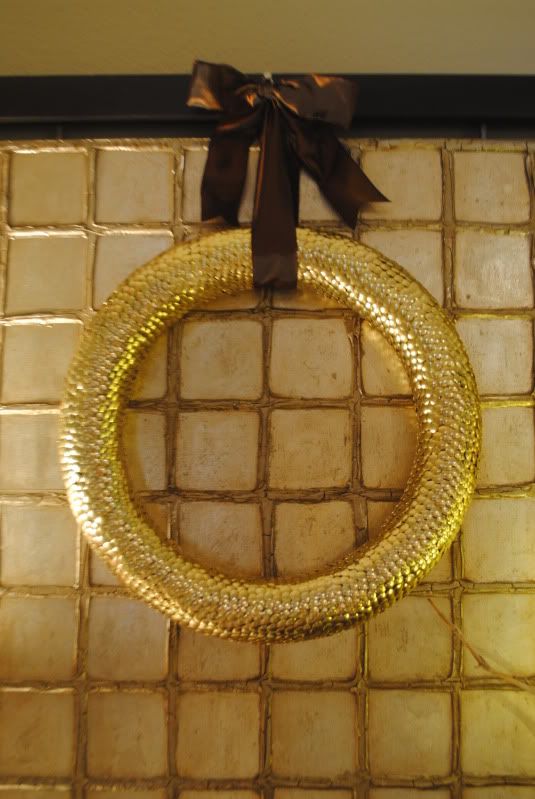
And here is my huge Pinterest fail. I kept seeing all of these repins with a pic of a wreath form made out of plumber's pipe insulation.
I thought "What a great idea! Strofoam wreath forms cost like $5 at Hobby Lobby and this way I can make it whatever size I want." So I went to Home Depot and bought the thickest tube they had. I took it home and was super excited at my genius purchase and how much money I was going to save. Now, here is a little secret. IT DOESN'T WORK. AND IF YOU KIND OF GET IT TO WORK, IT STILL ISN'T ROUND AND WILL EVENTUALLY START TO GO OBLONG. Take your happy butt to Hobby Lobby with a 40% off coupon and buy one there. Here is what the insulation wreath looked like courtesy of Gail Made.
Although Gail gives some tips to get it to kind of be round, it was a big pain in the a&* and I was quite annoyed so I threw the whole thing away and went to Hobby Lobby. A quick tip about Hobby Lobby too, I originally went to the floral department and was irritated to find only green wreath forms that had a flat edge and wouldn't work for what i needed. Luckily, I was in a wandering mood and happened to be wandering around the back of the store and found a whole other section of styrofoam stuff including the 6" and 14" wreath forms. I bought the 14" and it was $4.99 so came to 2.99 with my coupon. Then I went to the Dollar Tree and picked up one box of gold tacks (which I found in the school supplies section, not the home improvement section, contrary to where the "super helpful" employee at Dollar Tree told me they would be. I knew I was going to need alot more than that but I wanted to see how much that covered first. So here we go.
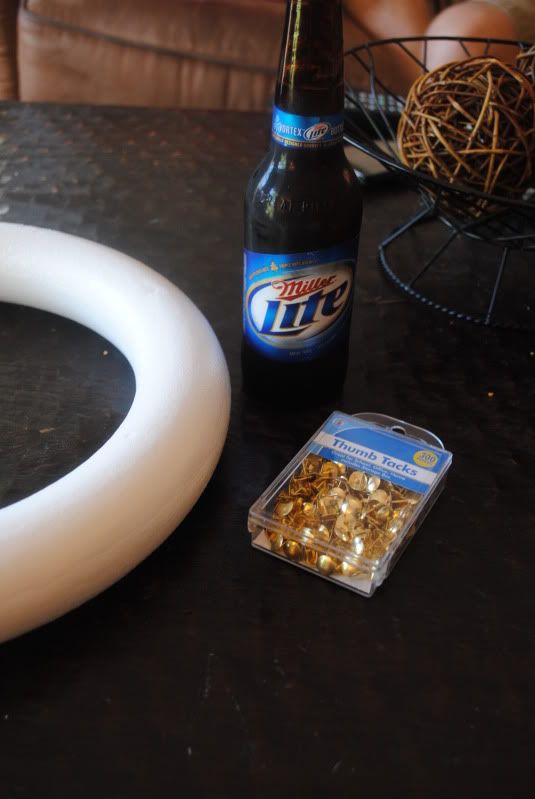
Here is my wreath form, my box of 300 gold tacks and a Miller Lite which I suggest having while you make this especially if you are making it while watching college football on a Saturday. I found a nice little area where the styro wreath had been joined together which I used as a guide to make my first circle of tacks. First I tried not overlapping them like this.
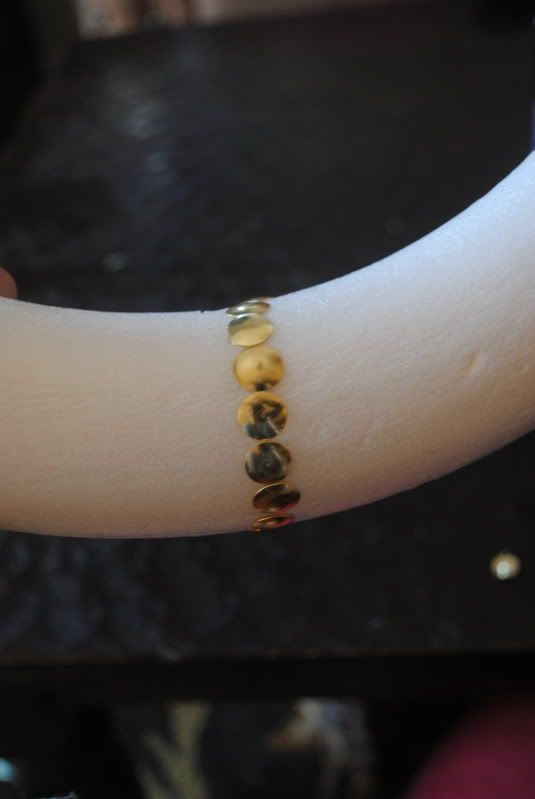
I quickly realized styrofoam was going to show if I did it this way and pulled them out. Then I did them slightly overlapping. I was originally trying to keep them perfectly in circles overlapping the previous circle but quickly realized the wreath is very forgiving so just try to work in one row at a time and fill in from time to time to even it out. The great thing about this is that the next row of the tacks holds the previously row down so you don't have to worry about them falling out. So here is what a whole box covers.
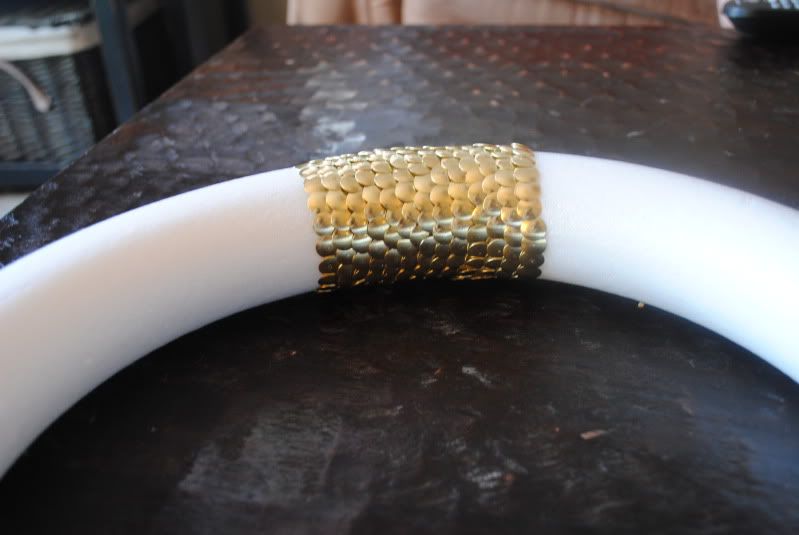
After doing that section I calculated (by my crazy method of measuring with my fingers) how many more boxes I would need and figured about 9 more, so 10 total boxes for a 14" wreath. It took me about 5 hours total to finish this wreath. It was good mindless activity to do in front of the TV. There was about a 1/2" section that wasn't covered so I guess I should have gotten one more box but the ribbon completely covered the section so I am not too worried about it. After I was finished the wreath I measured about a 12" piece of ribbon (I used brown silky ribbon from Hobby Lobby found in the floral ribbon section for $6.99 and was half off on sale) and tied it in a knot around the wreath. Then I tied a bow around the knot to cover it and used a tack to hang it from. The wreath is quite heavy but a push pin held it perfectly fine. I just love how it turned out! Madigan Made said she used 2-3 boxes for a 6" wreath and she used copper ribbon which also looked gorgeous with the gold tacks. You could also spray paint this after you were finished to make it a cool color and that would probably look really neat. I think a black one for Halloween would be awesome too! So anyway, here is the finished product again! Have a great Saturday!

Coming soon: a drug store review of Goody Simple Styles Bun Spirals and Seche Vite Quick Dry Top Coat and a belated posting of my Halloween Home Decor! Thanks for reading!



No comments:
Post a Comment