So I met my two post minimum last week but I fully intended to do a third post with this DIY. However, this being my first one, I had no idea how difficult taking pics and trying to do a craft project at the same time was. I missed a few pics and a few turned out a bit blurry but please bear with me, I am going to try using the tripod next time and see if that works better. So here we go!
First of all, let me begin by saying while this is not a hard project, it does take some practice. If your first one doesn't turn out perfect, don't get discouraged! Once you get it, it will be a cinch and you can make one of these for everyone you know with babies and enjoy the "oohs" and "ahhs" when you give your friends such a fabulous present! One of my best friends is having a baby but she is doing a gender revealing shower (my worst nightmare!!! Everything I make for Goose Goose Couture is pretty much personalized and gender specific). So what's a Texas girl to do? Give them a TON of fun stuff with their college theme! This particular friend went to Tech and is pretty die hard so it worked out well. Let me also say that while I do sell these and would prefer that you order one from me, I am also happy to help others make them. I would prefer that you only use this tutorial for personal use, but I am not disillusioned and know that some people might use this DIY to make these to sell.
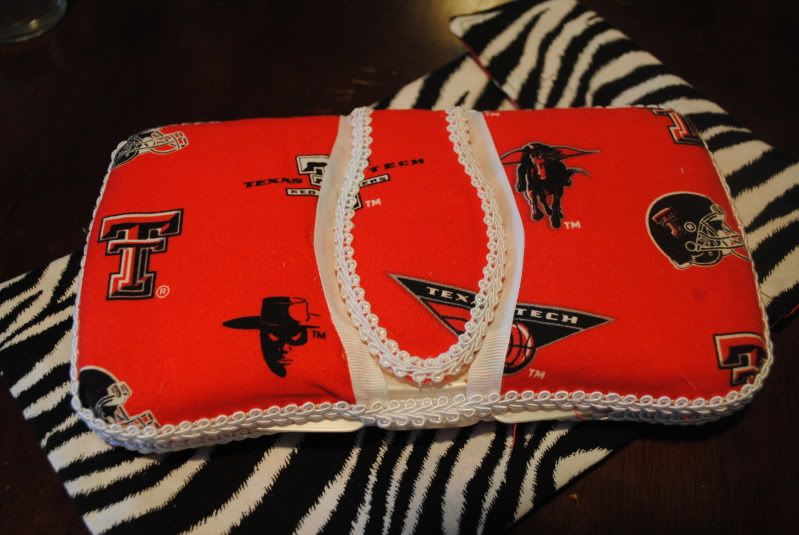
The FABULOUS finished product!!
What You Will Need:
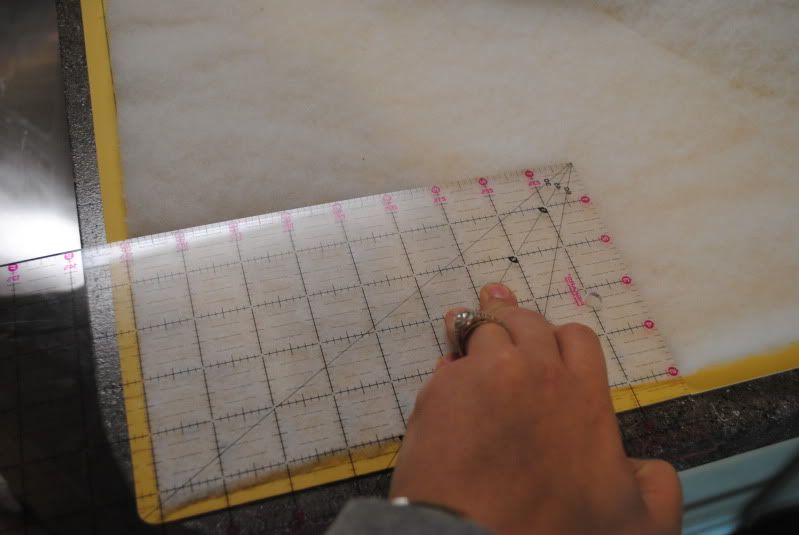
2 pieces of 8x5 batting (1/4 yard will be plenty for this project)
2 pieces of 9x5 fabric (how much fabric you need to buy for this will depend on which way you want the pattern to fall on the case, in my case the pattern position mattered so while 1/4 yard is technically 9" of fabric across, the fabric cutter is not always precise so I bought 1/3 yard to be safe)
2 - 5" pieces of 1/2" ribbon (I prefer grosgrain because it is a little more forgiving with hot glue)
2 yards of whatever you want to use for the trim, I prefer to use gimp which looks like this. You can get it at any fabric store, Hobby Lobby, Hancock's, JoAnn and they sell it in lots of different colors.
Hot glue gun
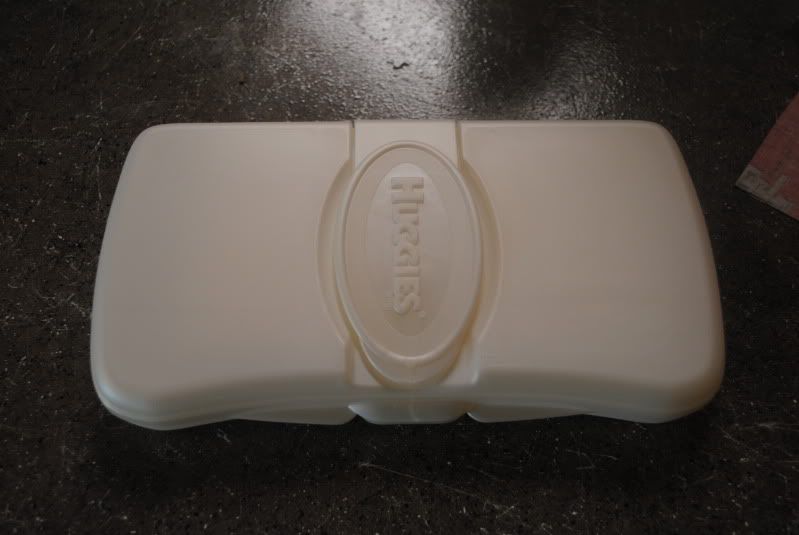
Travel Wipe Case (I used a Huggies case I got at HEB, you should be able to find them at Babies R Us, grocery stores or Wal-Mart)
Scissors
Exacto knife or sharp knife
Take the wipes out of the case and set aside.
Cut your pieces of batting.
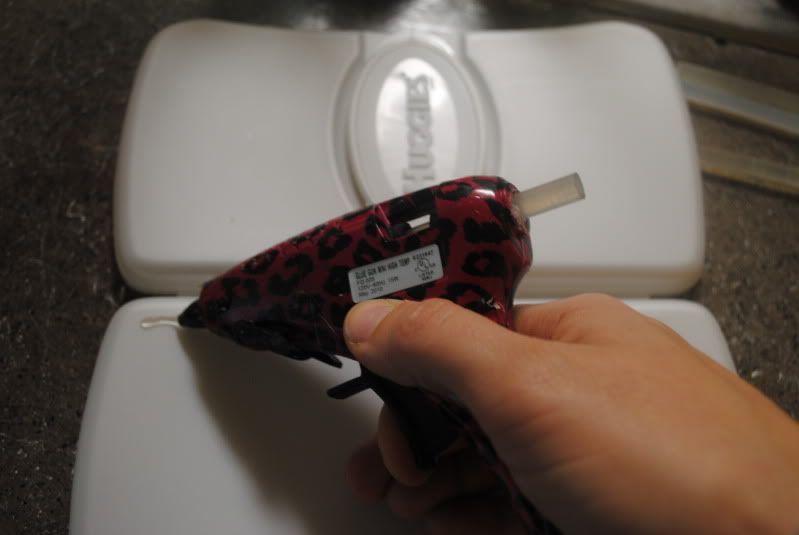
Start on the bottom of your case and apply a thin line of glue along the edge. I prefer to work one edge at a time.
The batting is not going to go down the sides at all so make sure you only adhere it to the bottom of the case, not down the sides.
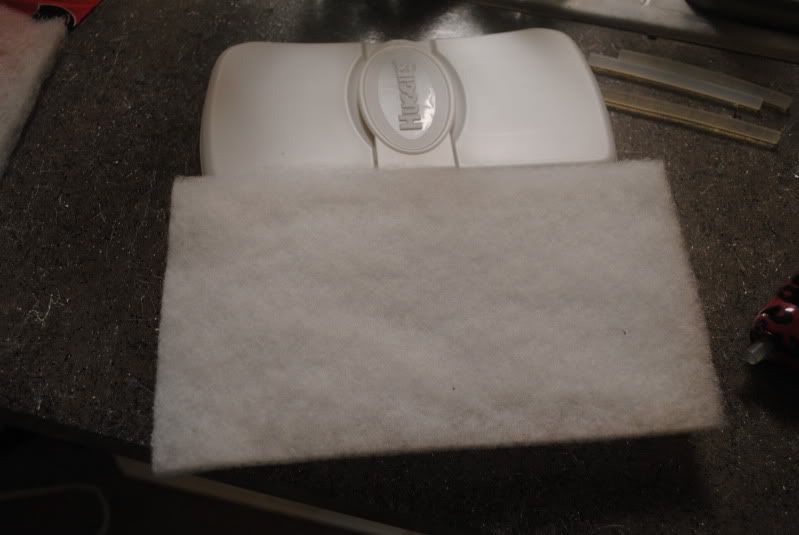
Then take your scissors and trim the extra off the batting
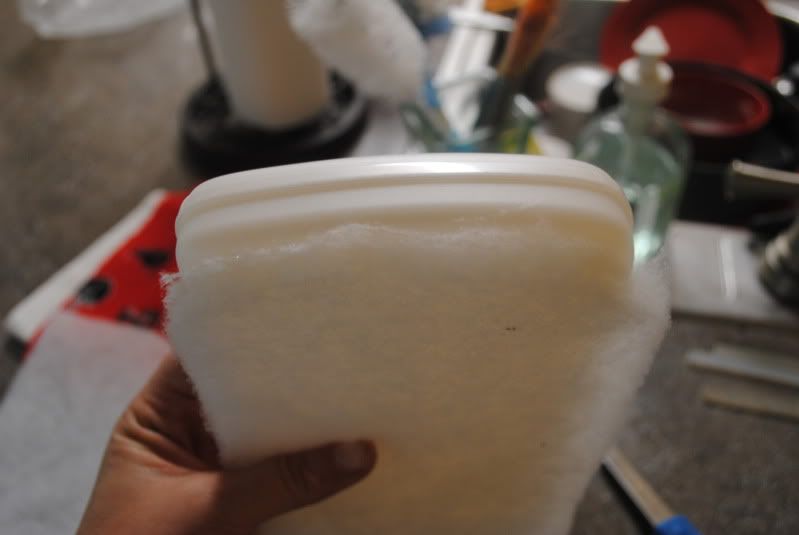
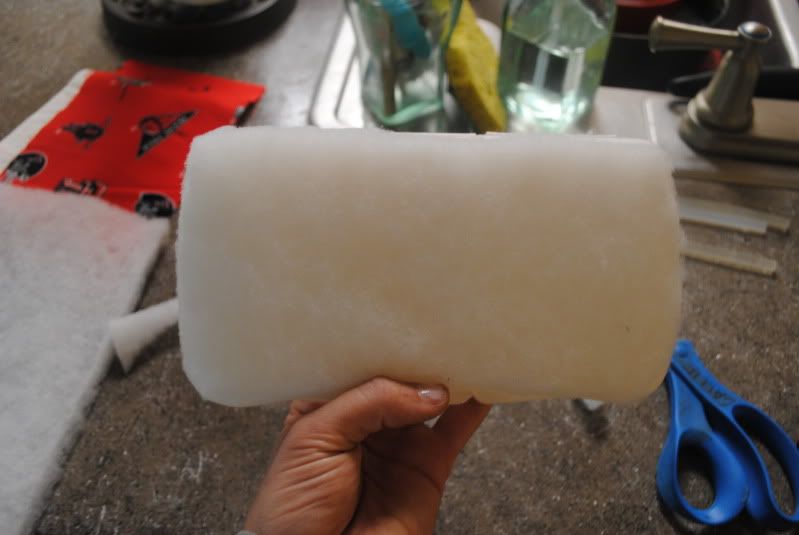
Here it is after I finished trimming all sides.
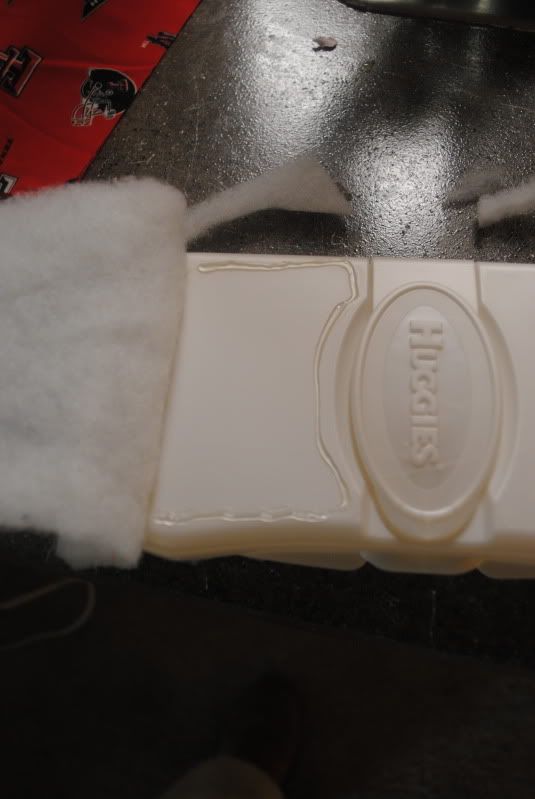
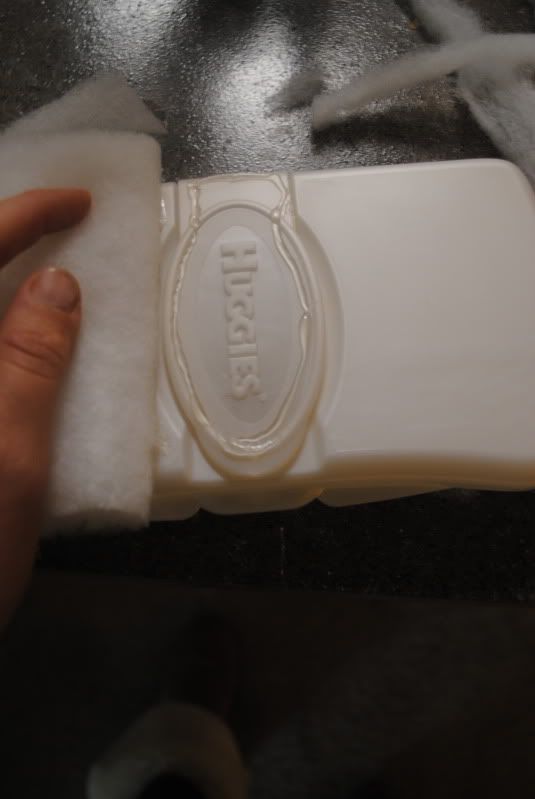
Now comes the tricky part. It is very important that you work in sections when adhering both the batting and the fabric to the top of the wipe case since we are making a top opening case. Think of it in three sections and glue each one seperately. Here is a pic of the first section. Notice the hot glue around the whole left side. Put your thin layer of hot glue and then gently pat your batting along the glue.
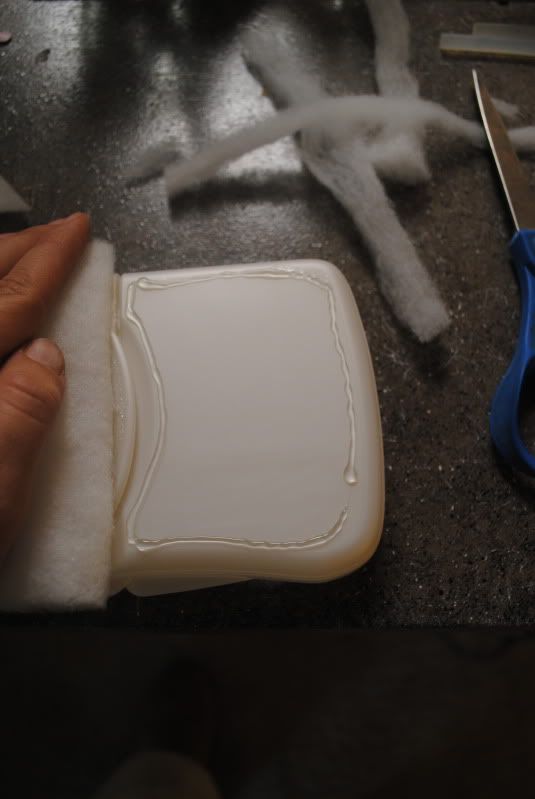
Then do the same with the middle sections. Here is a pic.
Then do the same with the right side. Again, a pic.
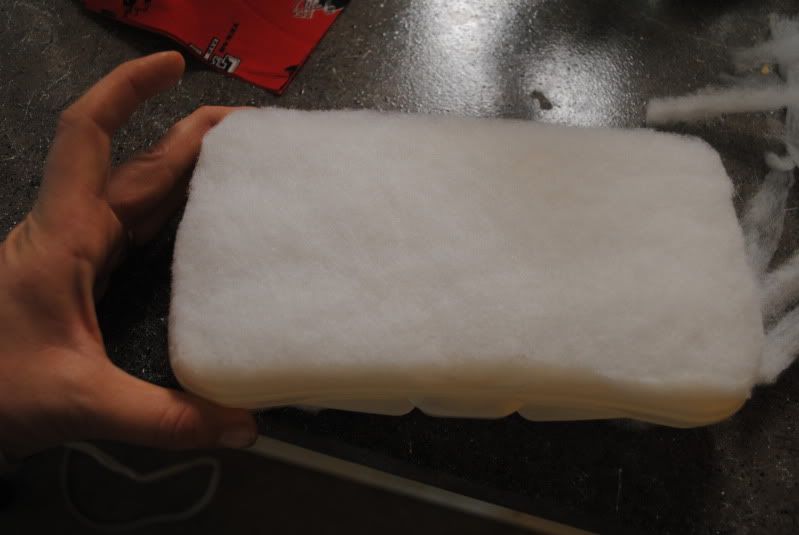
Then do the same thing you did on the bottom and trim around the edges. Here is the top after I trimmed the edges.
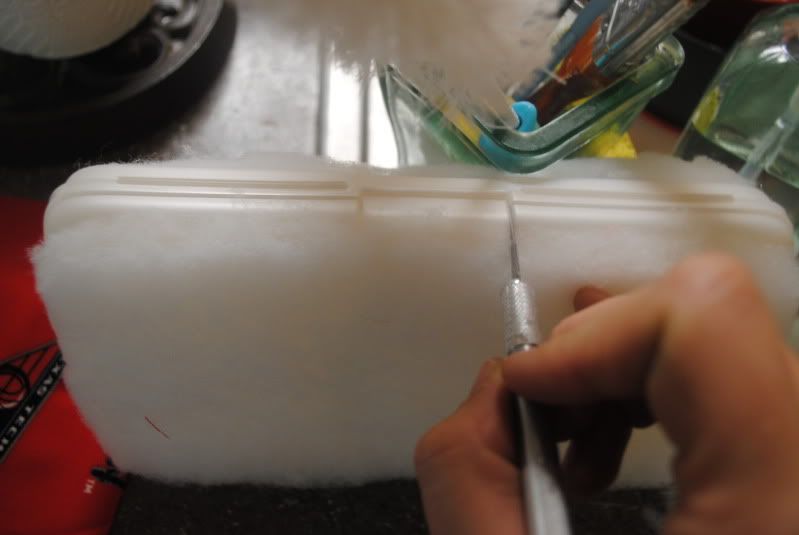
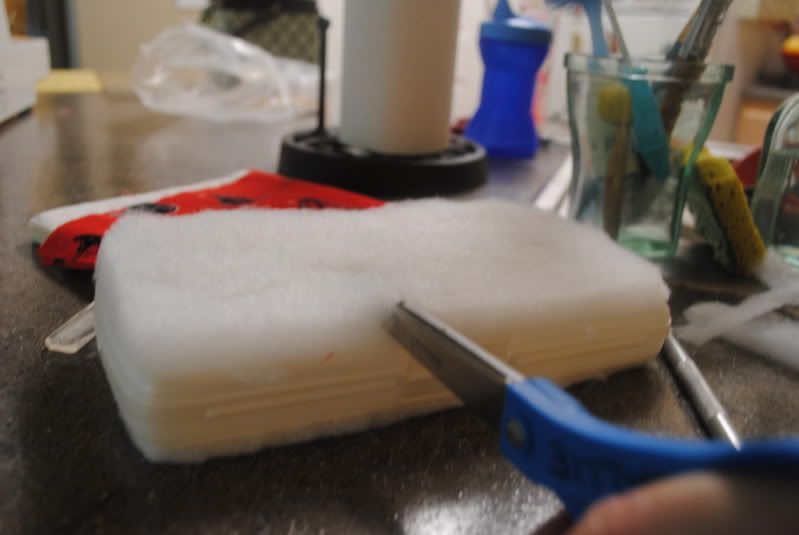
Now comes one of my least fave parts. Trimming the batting around the lid so it can be opened. I have found that using a very sharp exacto knife to get it started on the back is the easiest way to do this. If you look at the back you can see where the two openings around the lid are so you can use that as a guide to make your first cuts and once you get it started you should be able to use your scissors and follow the groove of the lid around. Work very slowly.
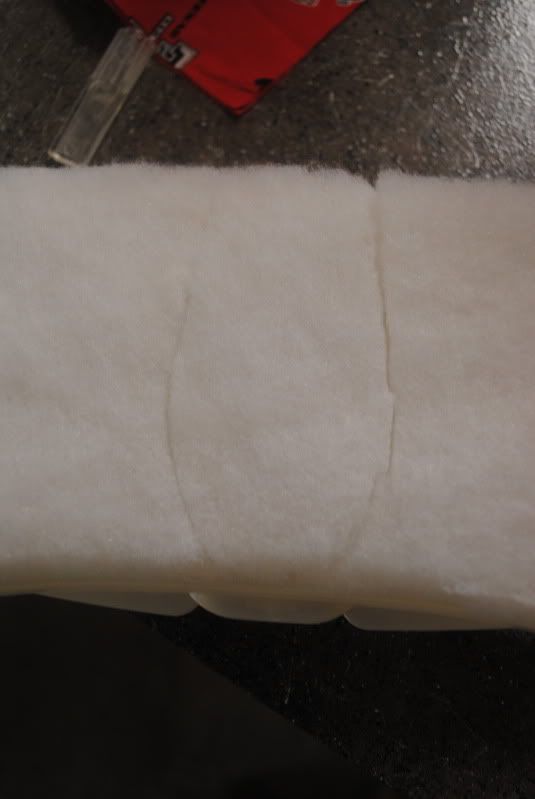
Here it is once I trimmed both sides
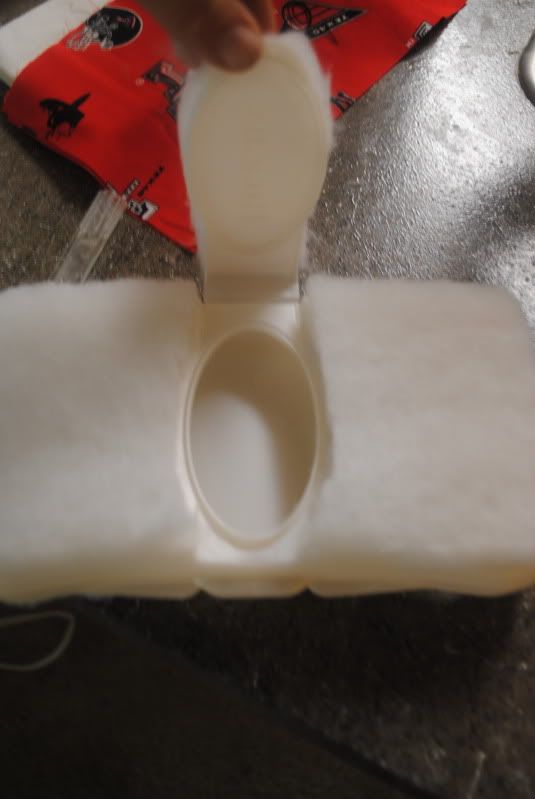
Now you should be able to open the top opening
OK, now another easy part. Flip the case over and work on the bottom. Apply a small line of glue along your batting.
Then, lay your fabric over the top and VERY LIGHTLY pat the area where the glue is to adhere to the batting. It is VERY IMPORTANT you don't smash down where the glue is because the glue will adhere the fabric through the batting and make it uneven and it will leak through the fabric if you press too hard as well. Make sure it is centered.
Go around the whole thing and do the same until it is completely adhered. Now we are going to glue down the sides. Don't worry if this part doesn't look perfect because the gimp covers up alot. You will have to kind of stretch the fabric to get around to the edges because the batting makes it puff up a bit. You will probably burn your fingers on this part, I always do and I have probably made 50+ of these things. I work in a small section at a time. Here are a few pics. When you get to the corners, DON'T glue them down, we have to do a little something extra with these.
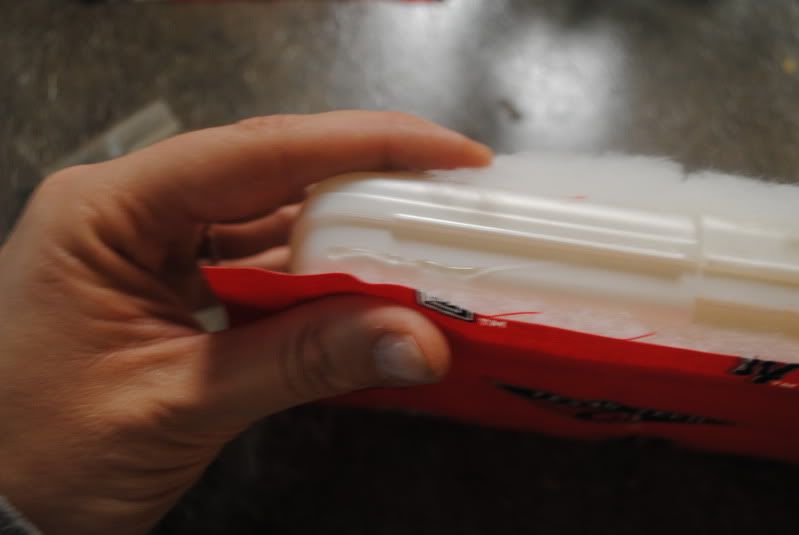
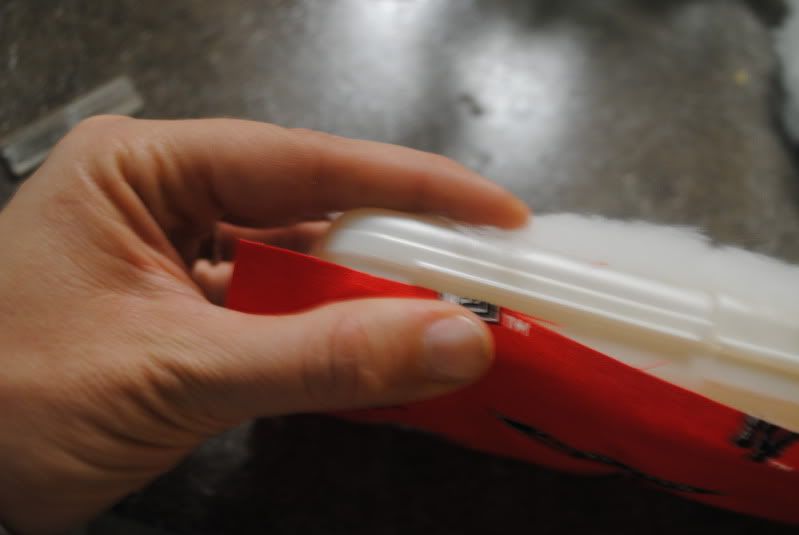
So here is what the bottom should look like thus far.
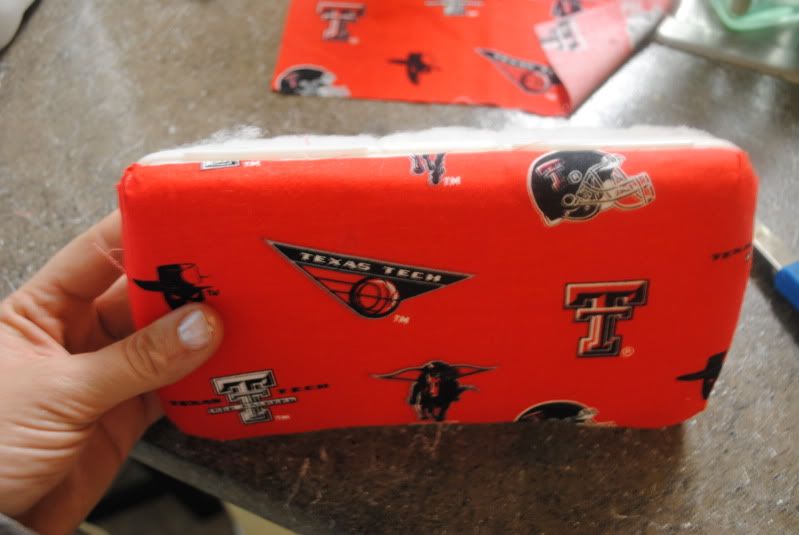
Now please excuse this next pic, it came out very blurry but basically your corners should be kind of jutting out and open. Put a small dot of hot glue in the little corner and lightly pull the fabric down to adhere the corner. Don't pull too hard or push it down too much because again, the hot glue will seep through the fabric if you do and it leaves this yucky glue residue on the corners. (Can you tell I made that mistake once before?!)
Don't you love my hot glue gun?! It's so fabulous! Anyway, here is a pic of a glued down edge.
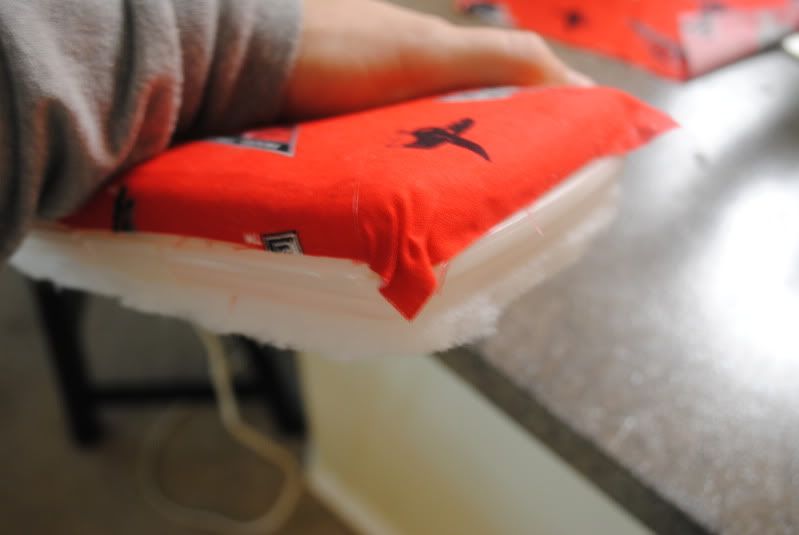
Now trim the little bit of extra fabric off the corners so they are even with the rest of the fabric. Again, the gimp will partially cover this so it doesn't have to be perfect.
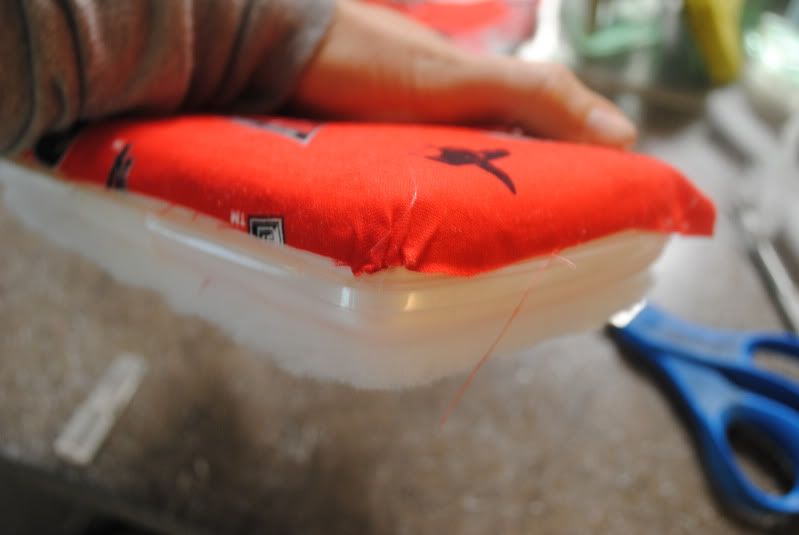
Now, another tricky part. We are going to do the same thing on the top with the fabric we did with the batting. Work one section at a time. As you glue each section down, make sure you lightly pat like you did on the bottom side. Here are the pics.
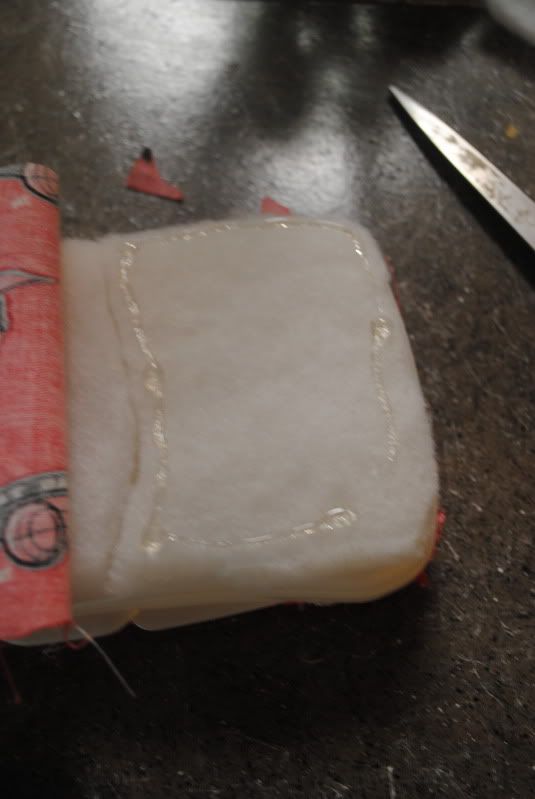
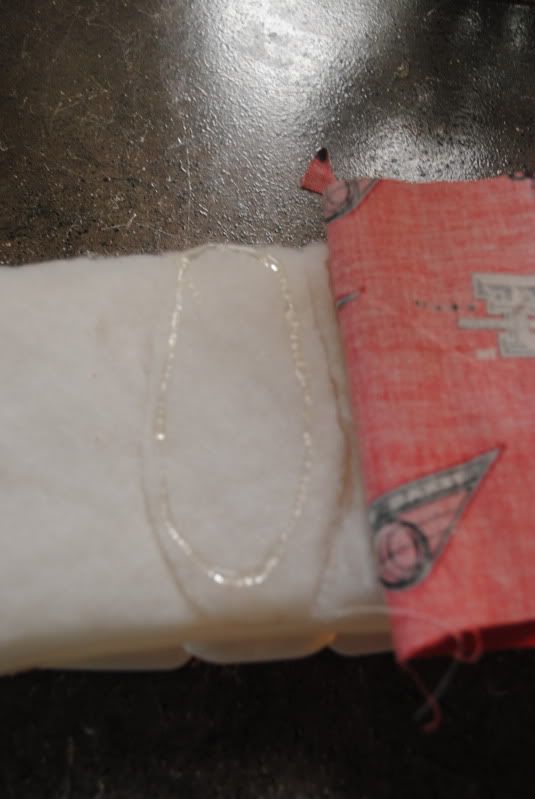
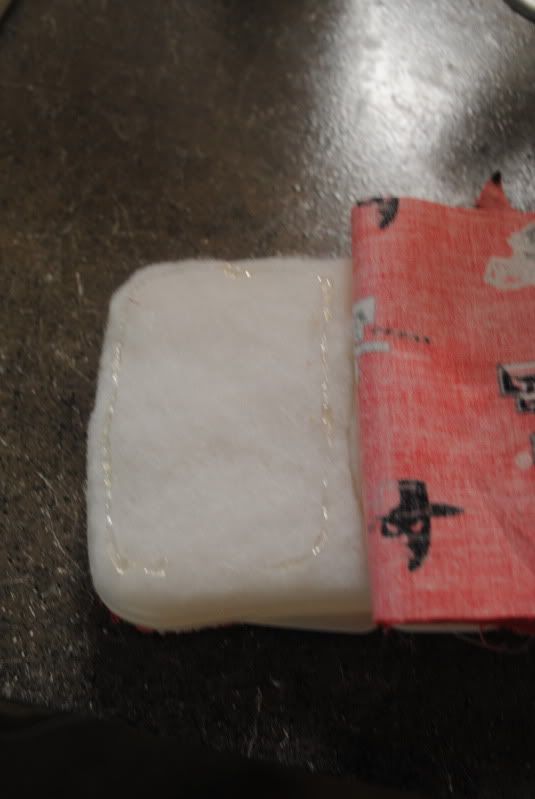
Now we are going to glue down the edges on the top. This is exactly the same process as the bottom. Again, you are going to skip the corners until all the sides are done and then go back and glue the corners and trim them.
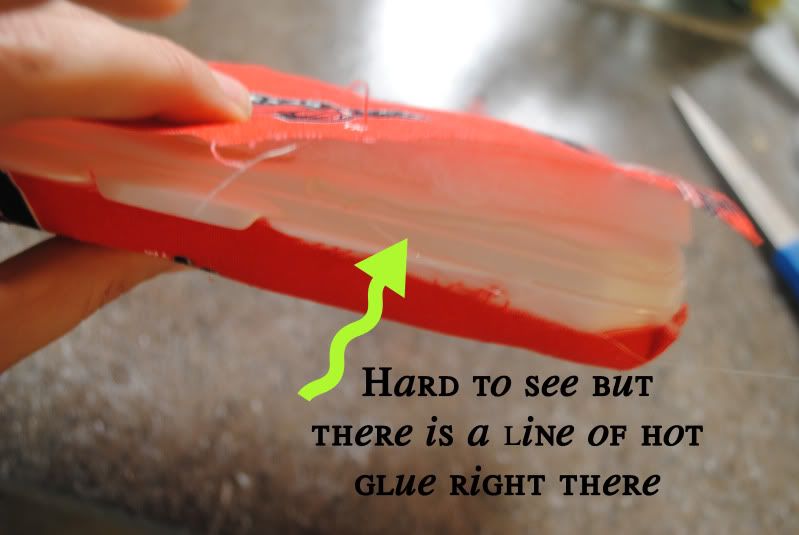
Here is the side before I glued down the corners to give you another idea of how they should look.
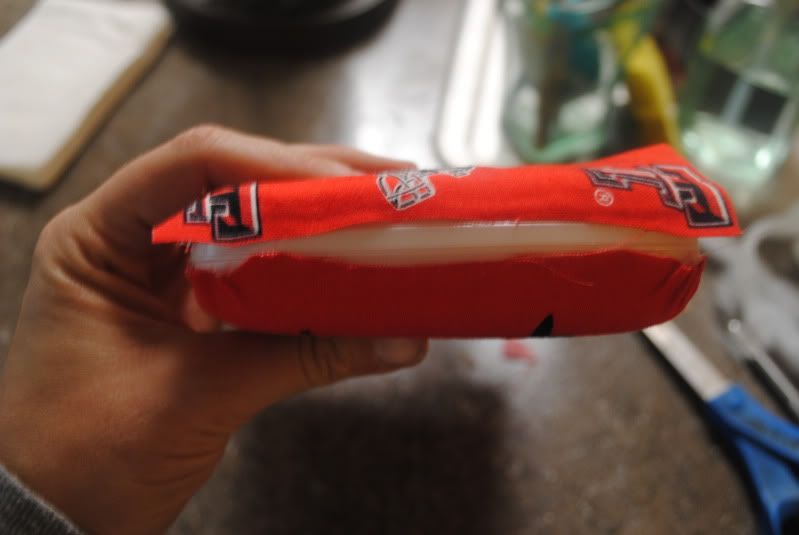
Here is the case with all the edges glued down and the corners trimmed.
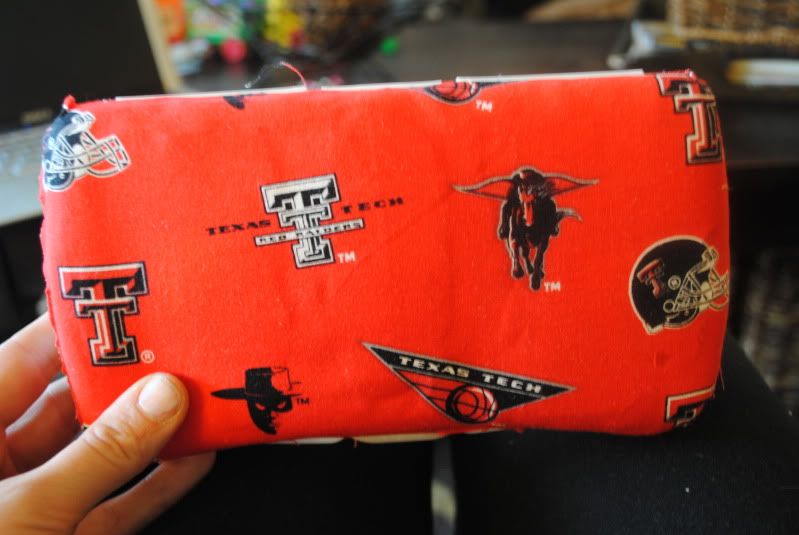
NOW comes the Achilles heel of this project, my least favorite part BY FAR! Feel on the back for the two grooves where the top opening begins. Make a little slit on each side like we did on the batting with your exacto knife and then follow the grooves with your scissors. Work one side at a time. Here is the first side finished.
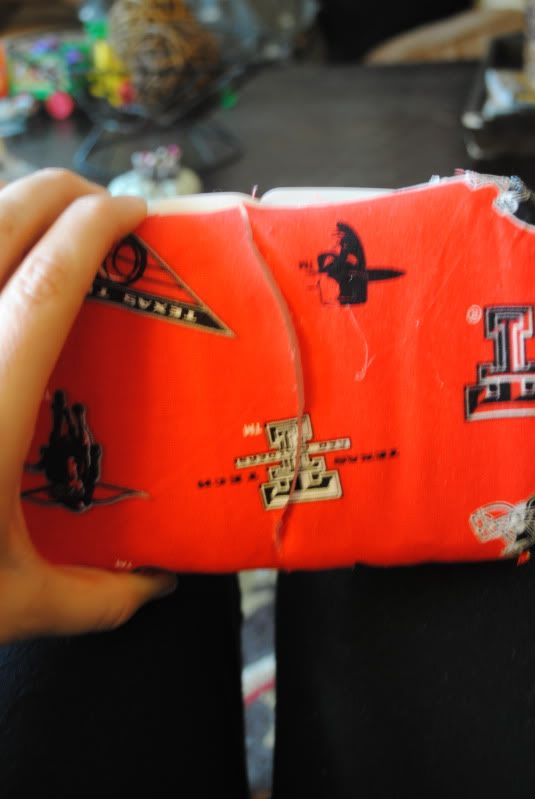
And here are both sides cut.
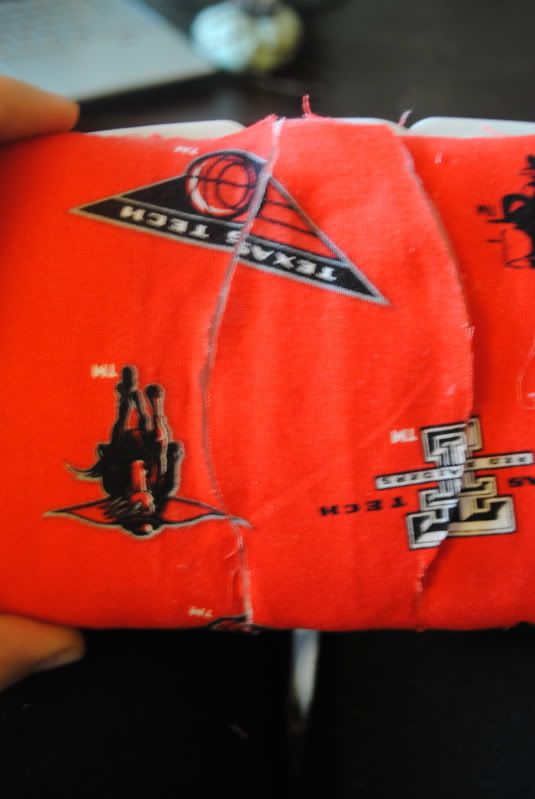
Now lift the lid to make sure you can open and close it.
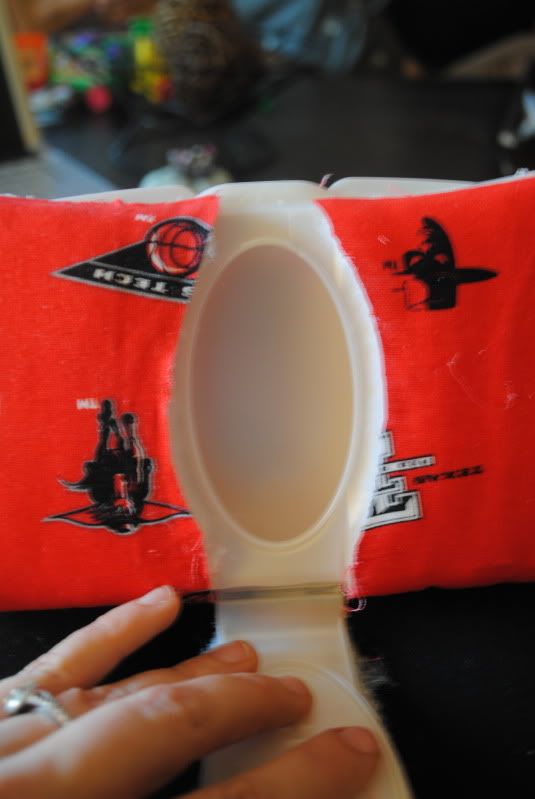
when you open the case you will notice there is an extra little piece of fabric on the tip of the lid opening.
Trim the little piece off following the edge of the lid.
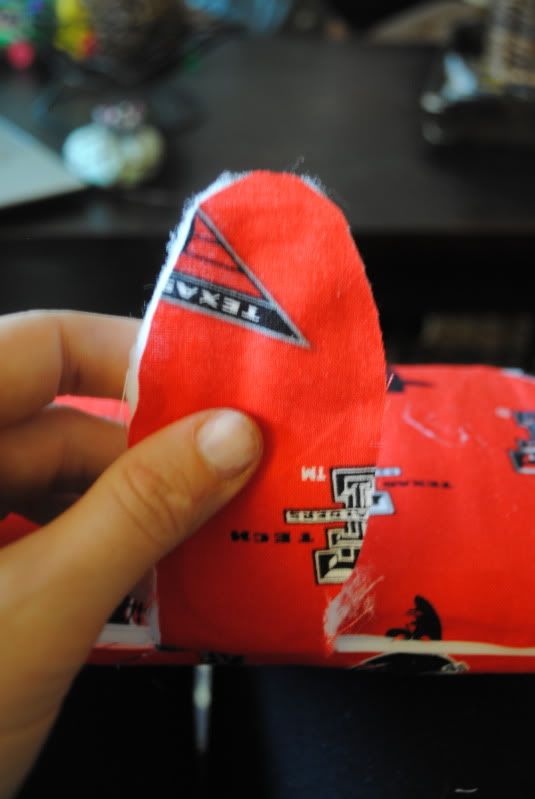
Now comes another part where YOU WILL burn your fingers. Just dig deep and think of that person you love so much that you are making this for and work through the pain. You need to adhere the edges of the batting and fabric to the edge of the top opening so that it is stuck down. Some of the glue will leak out and will burn your fingers. You have to kind of work your fingers along to work the glue in to the edge and pinch of the excess glue before it dries and leaves yucky glue remnants all over the edge. I hate this part!'
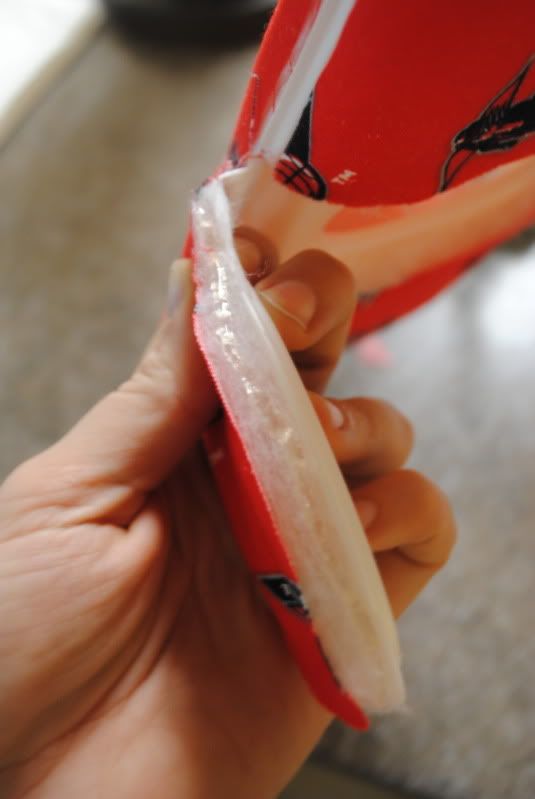
Here it is after I worked my edges down and burned the crud out of my fingers.
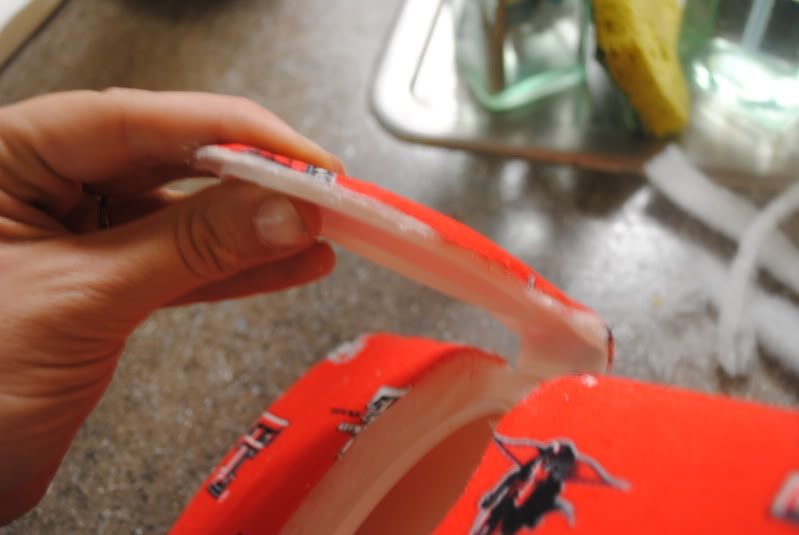
Now we need to glue one of the ribbon pieces down to the insides of the top opening. The ribbon holds the fabric down so it needs to be glued down very well. This means you need to work a thin layer of hot glue across the entire width of the ribbon before sticking it on the inside of the opening. Here are a few pics.
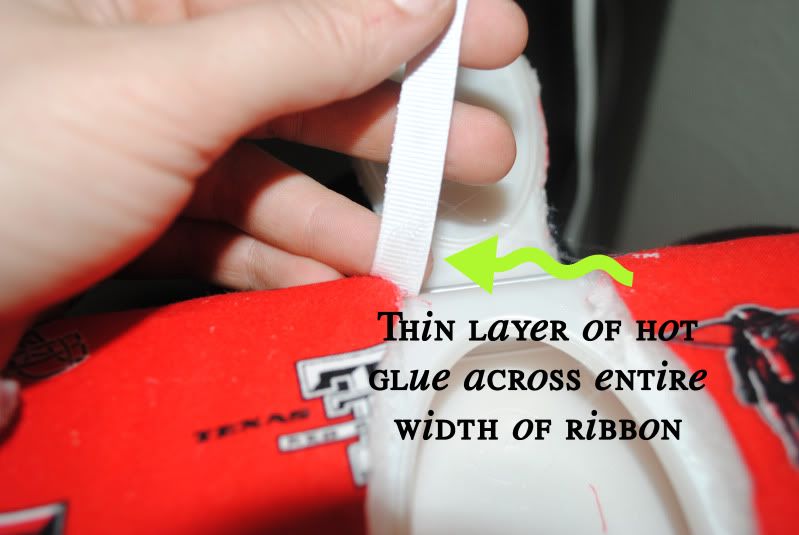
Here it is after I adhered the ribbon. Again this is another part you want to work on in small sections.
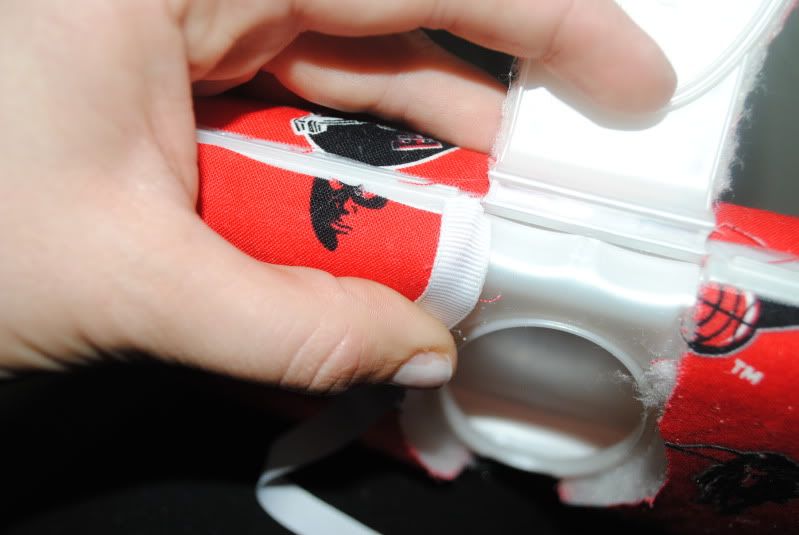
Here it is after I finished gluing the entire side down. It isn't going to look perfect but once the case is done you can't even tell.
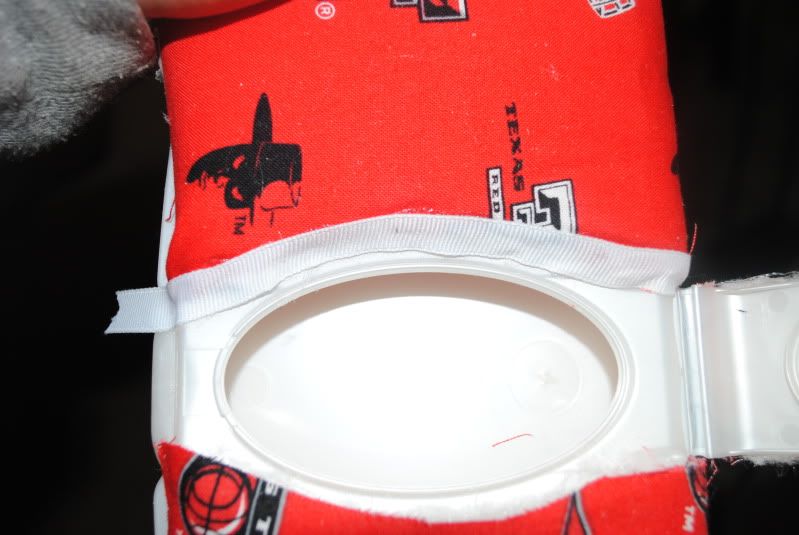
Now do the same thing on the other side
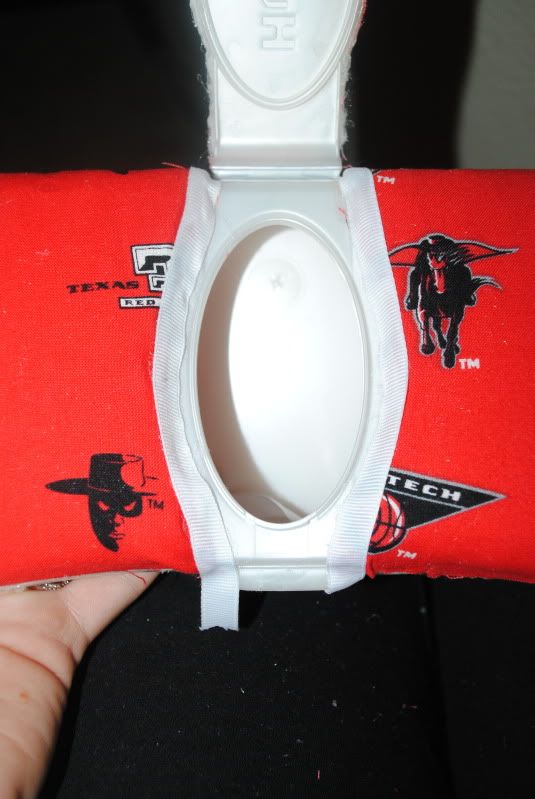
Trim any extra ribbon off the bottom edge. I forgot to take a pic of this part, but you get the idea. Now we are going to work a 10" piece of the gimp around the lid of the case. Start at the back of the case and spread an even layer of glue across the entire width of the gimp like we did with the ribbon. Adhere small sections at a time and just follow the edge of the lid.
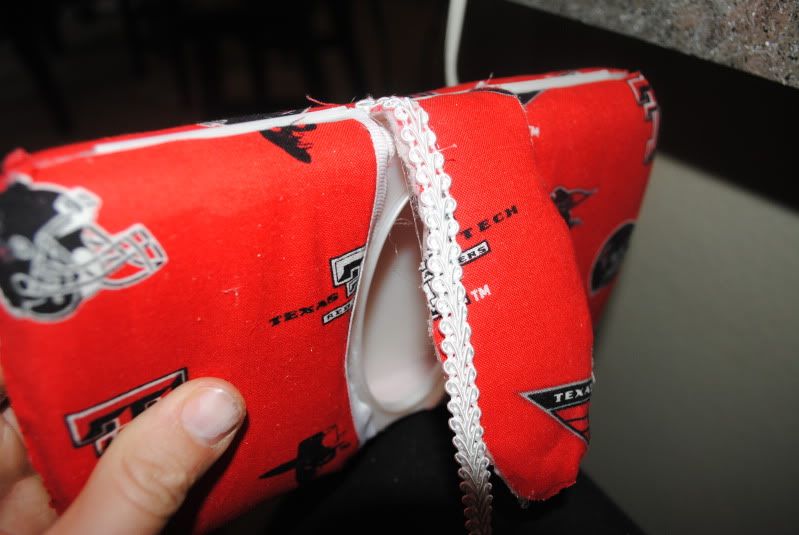
Here it is after I finished the entire top.
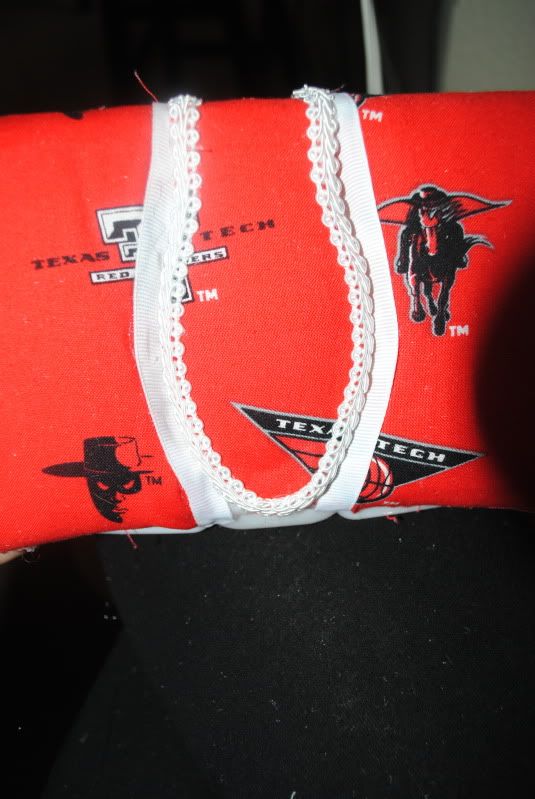
Now, you are going to glue a 24" piece of gimp down around the edge of the case. Again, work slowly and make sure the glue is applied lightly and evenly.
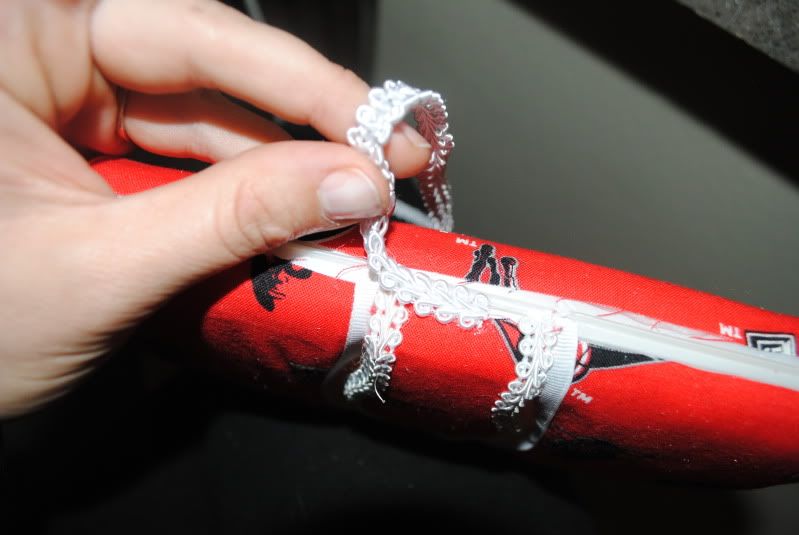
You are going to overlap the edges a little bit when you get to the back of the case so it is well covered all the way around. Again, I forgot to get a pic of this but just trim off any excess. Here is a pic of the side once I finished the top.
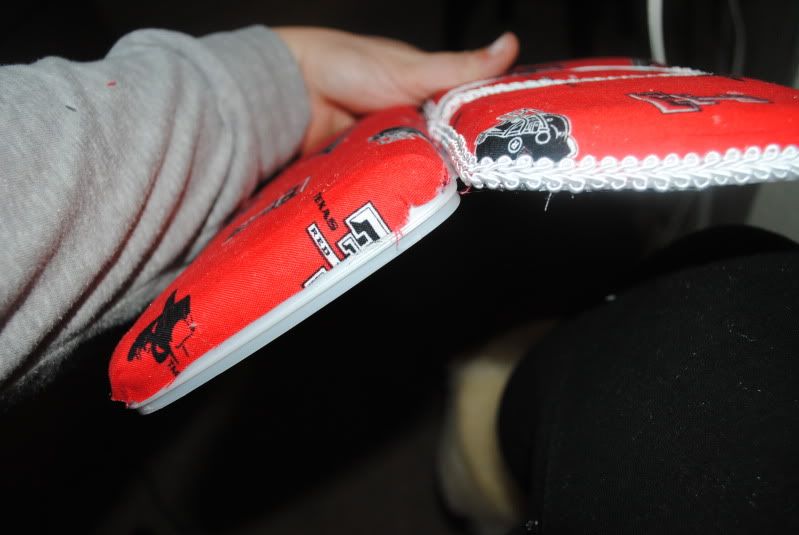
Now we are going to cut another 24" piece of gimp and work it around the bottom of the case.
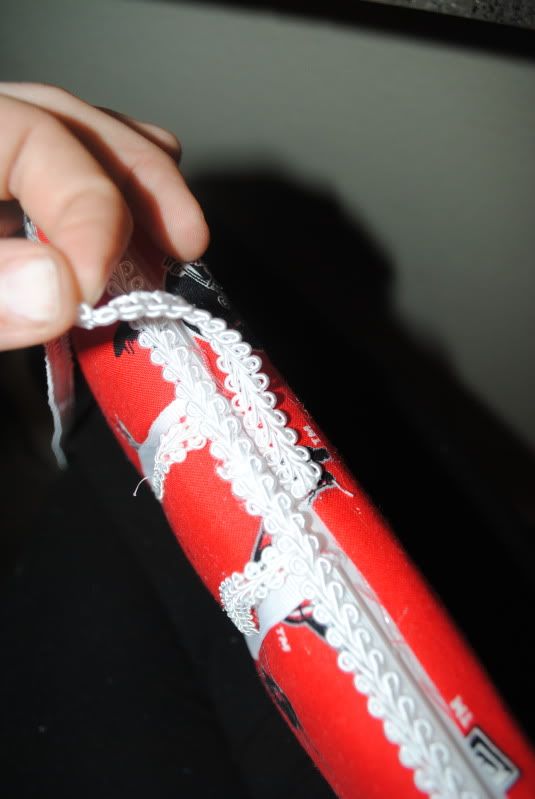
Again, overlap the end and trim the excess. Here is a pic of the finished back.
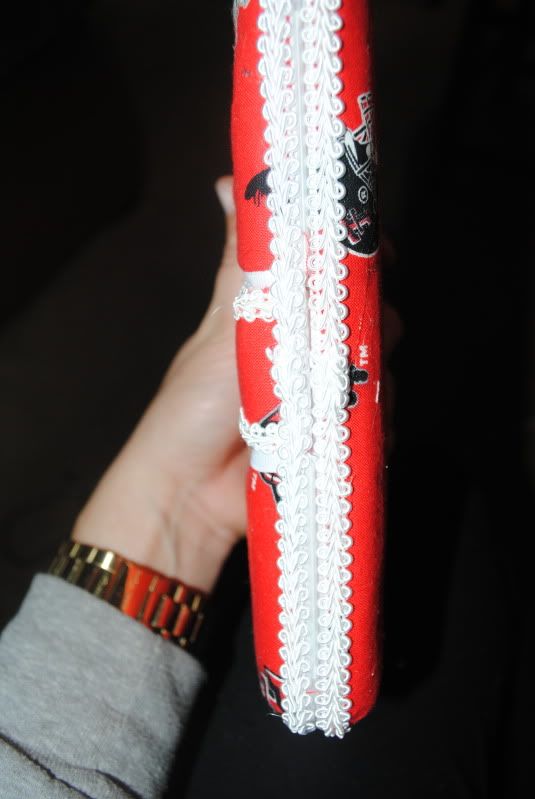
And now you are done! Great job!!! Here is the finished product again!

Hope that was clear and please comment with any questions!!


No comments:
Post a Comment